


Efficiency is key in online sourcing. Sorting products by category can dramatically save you time and streamline your search for the best items. This tutorial will walk you through how to use the powerful OopBuy Spreadsheet filters
Open your OopBuy data spreadsheet. This file typically contains columns such as Click on the DataFilter
Step 1: Access and Understand Your Spreadsheet
Product Name, Category, Subcategory, QC_Pass_Rate (%), Price, and more. Familiarize yourself with the headers.Step 2: Apply the AutoFilter
Step 3: Filter by Primary Category
Category
Step 4: Refine by High QC Approval Rate (The Critical Step)
Now, focus on quality within your selected category.
- Click the dropdown arrow in the
QC_Pass_Rate (%)- Hover over Number FiltersFilter by Condition.
- Choose "Greater Than or Equal To".
- Enter a threshold value (e.g., 85
- Click "OK". This combined filter now shows only items in your chosen category that meet your quality standard.
Step 5: Sort and Analyze Results
For even better insights, sort the filtered data:
- Click the dropdown in the
QC_Pass_Rate (%)Sort Largest to Smallest. - This lists the highest-quality items within your category at the top, making your final selection process effortless.
Pro Tips
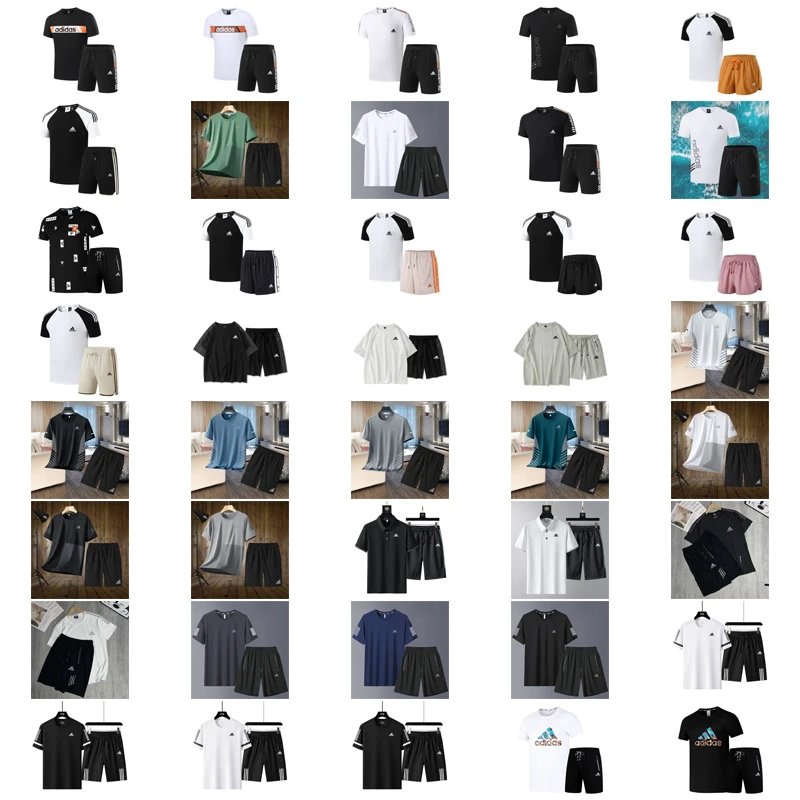
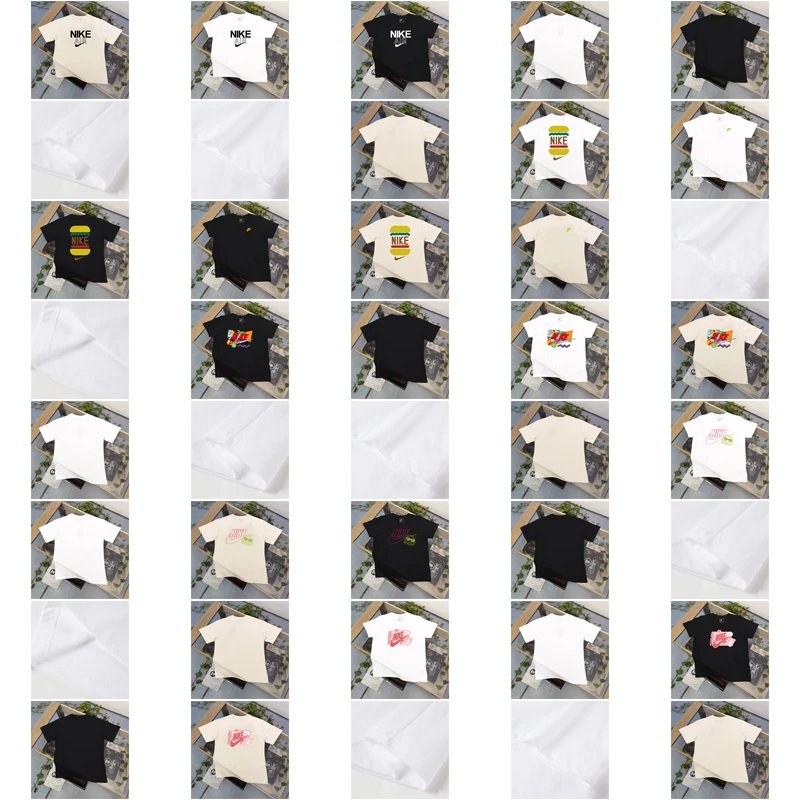
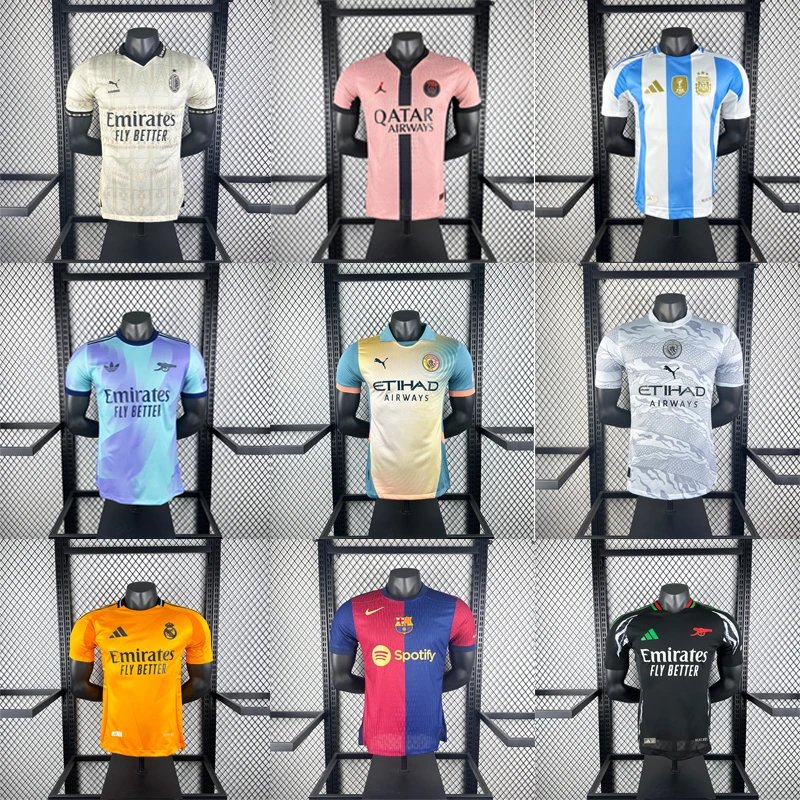
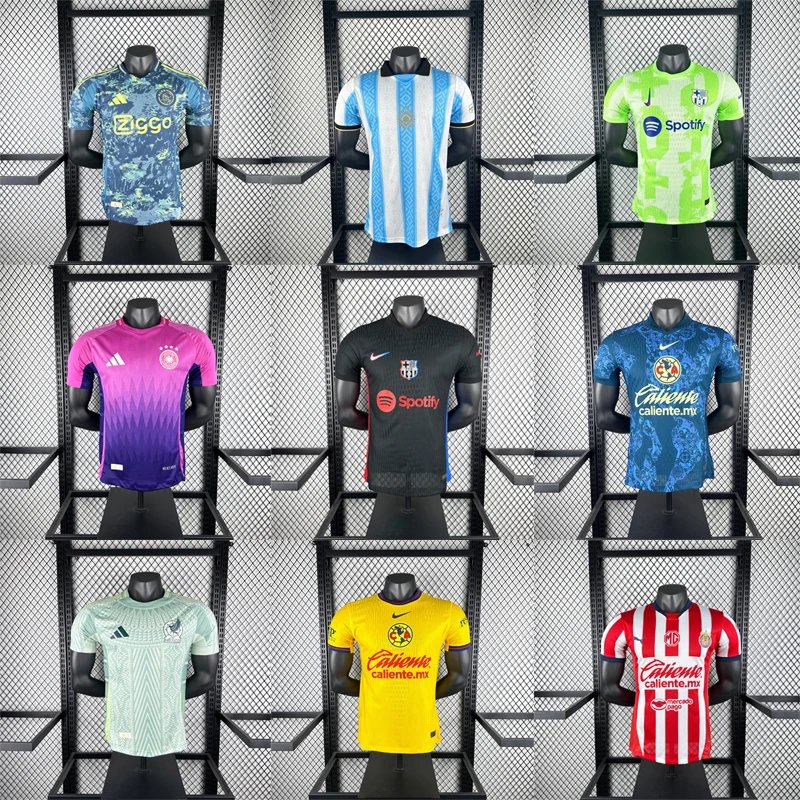
Multi-Category Search
You can select multiple categories (e.g., both "Sneakers" and "Accessories") in the initial filter if you are browsing a broader range.
Save Your Views
Consider saving these filtered views as a custom view or template for future searches to save even more time.
Combine with Price Filters
After applying category and QC filters, you can add a price range filter to find high-quality items within your budget.
Conclusion
By leveraging OopBuy Spreadsheet filters
Start filtering and source smarter today!